Walnuts Forever

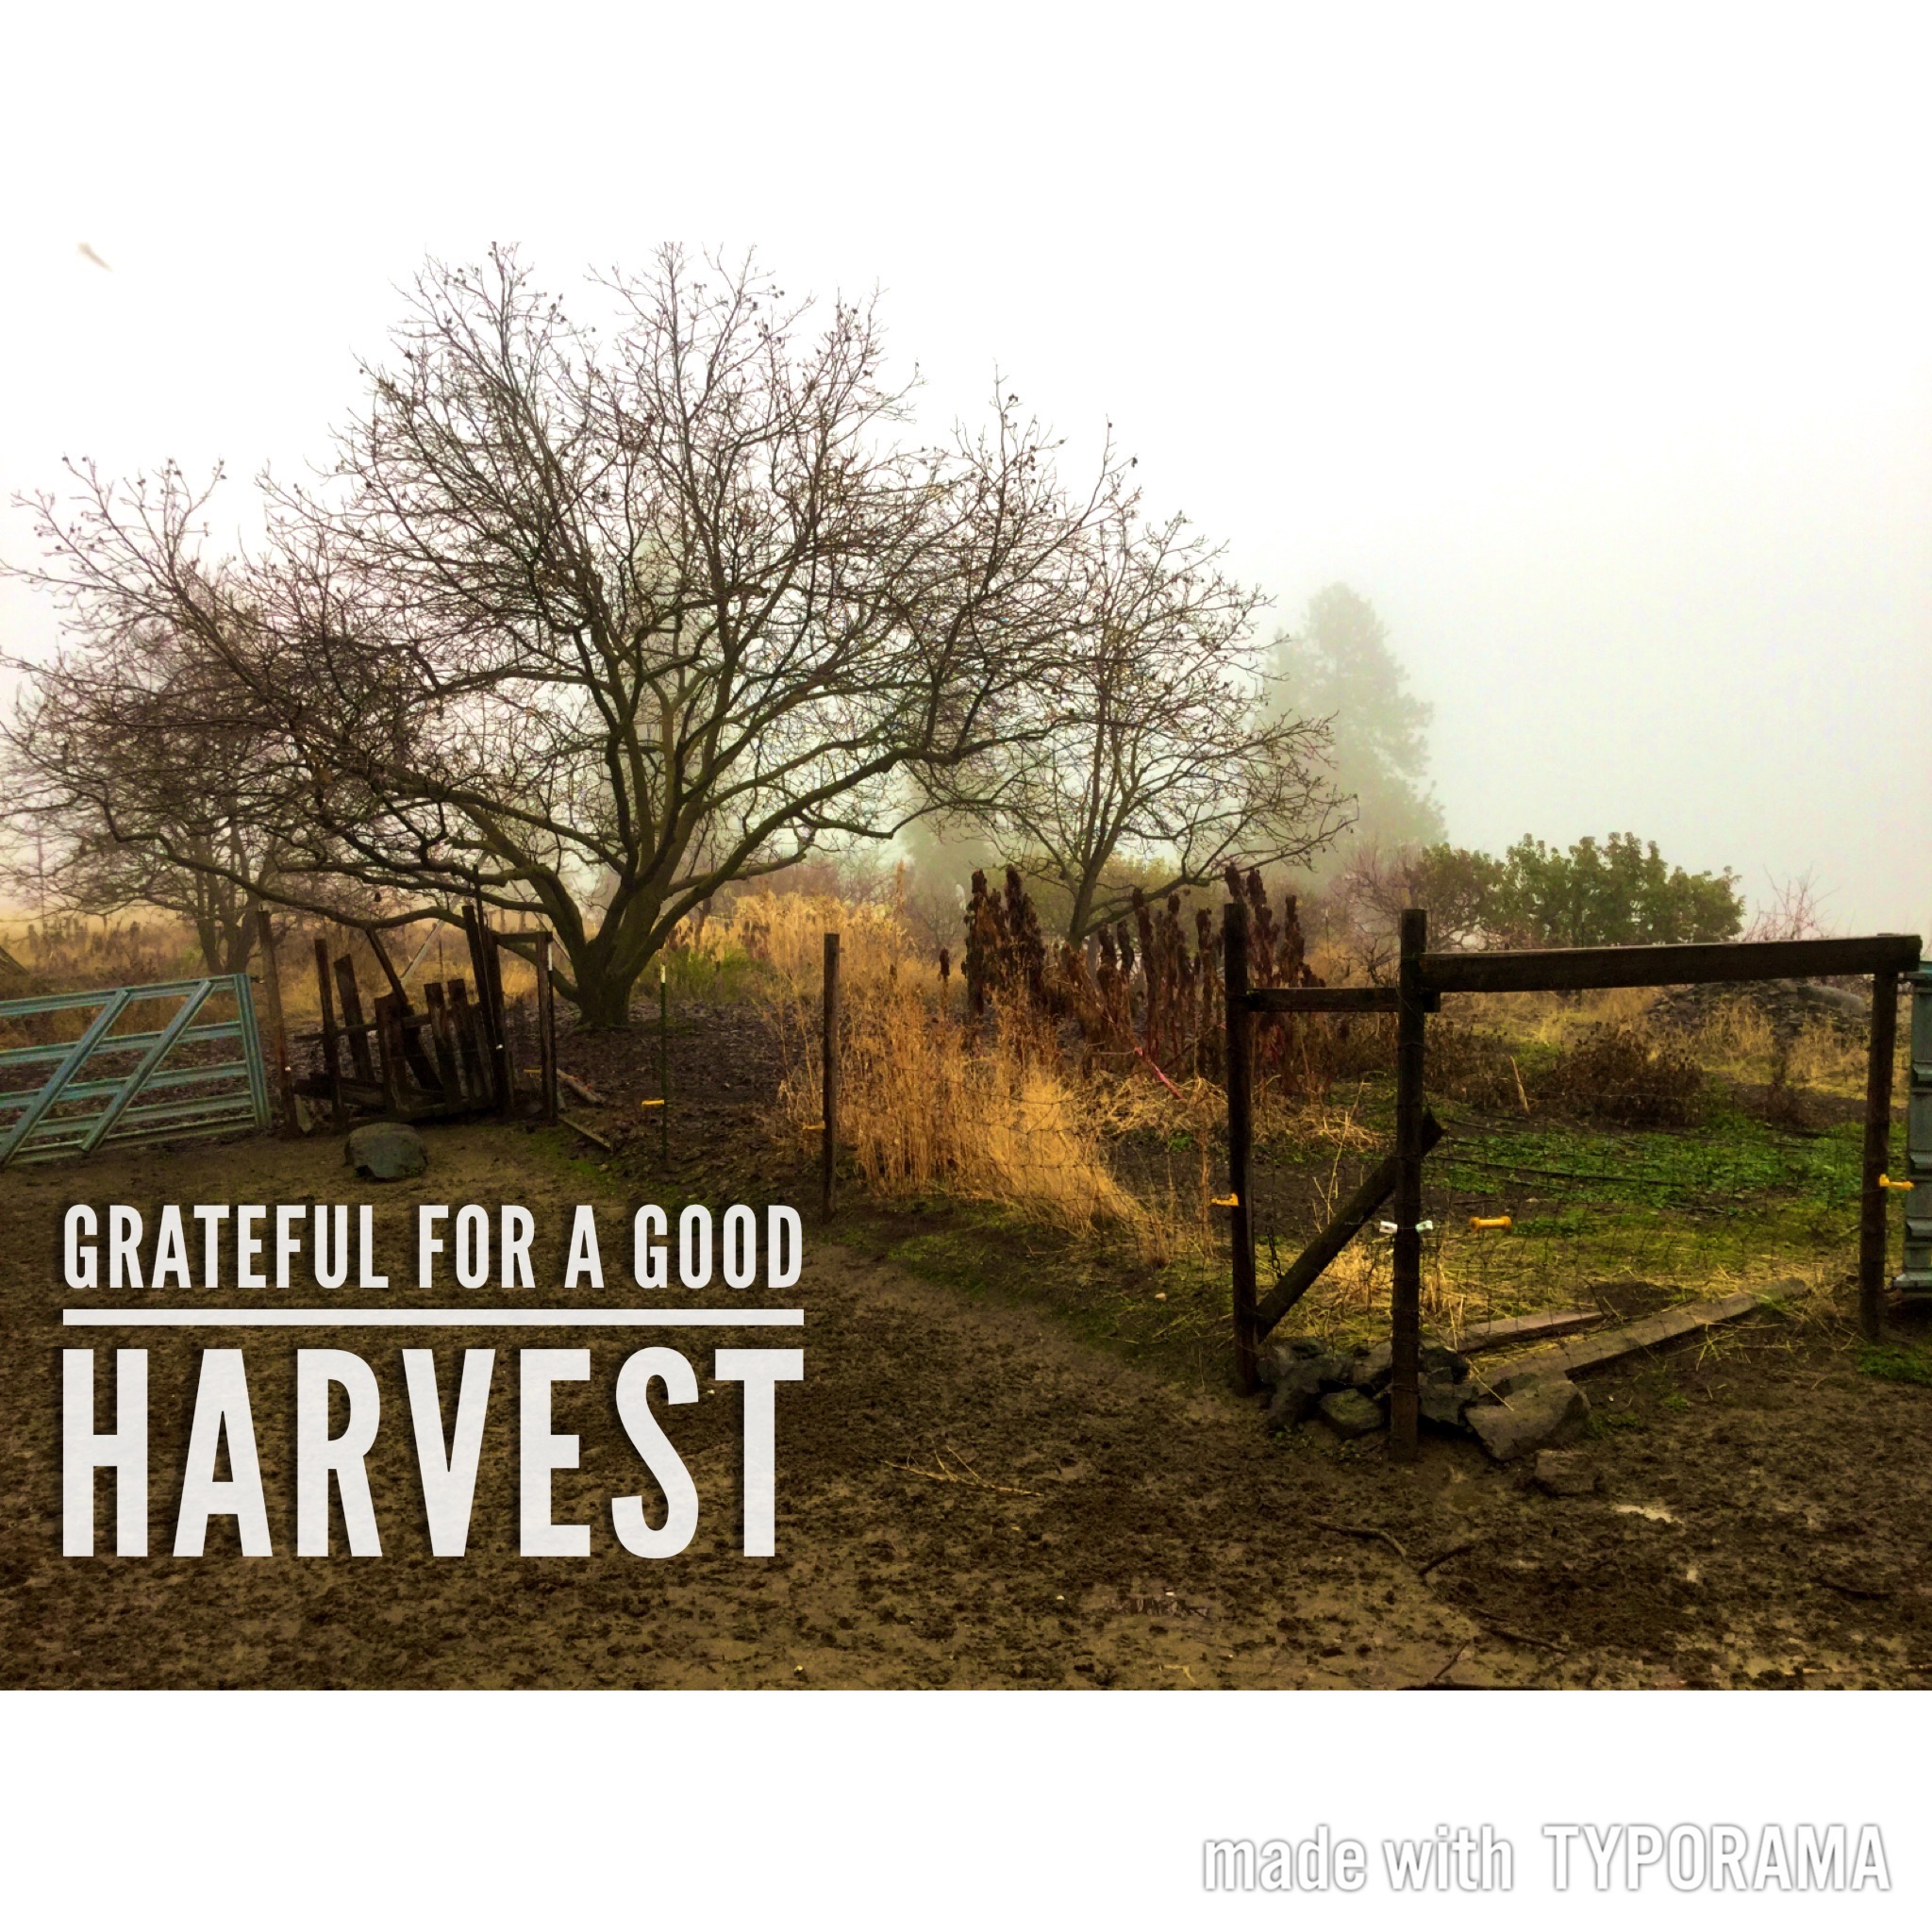
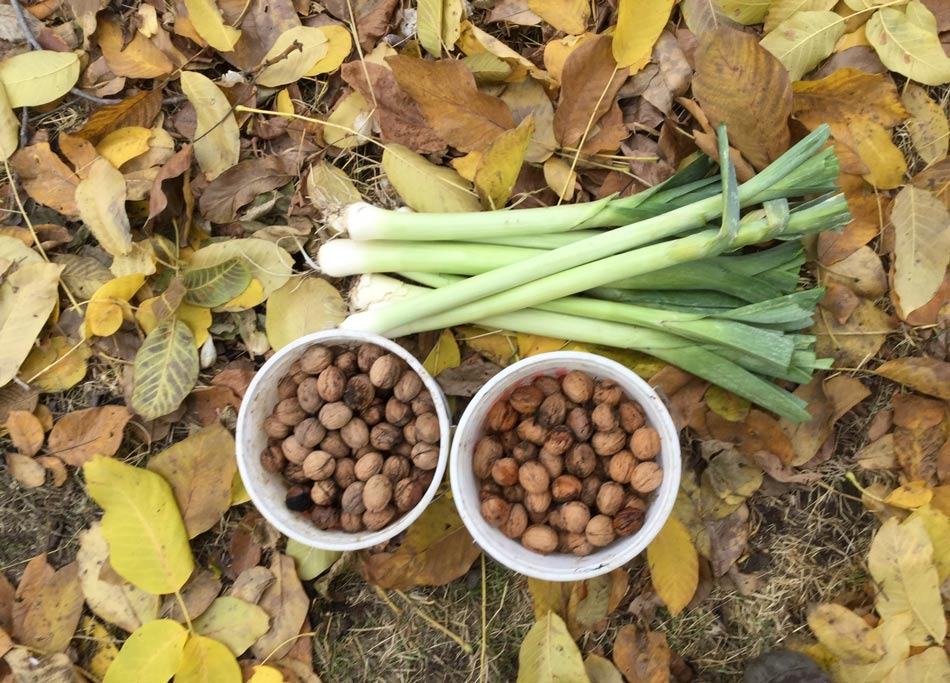
This fall we have been obsessed with walnuts. Our trees were very productive. Rick and I and several groups of friends picked up more then 300 pounds of walnuts. Thank you walnut trees and a big GRATEFUL to everyone who shared in the joy of the harvest.

walnuts, quillisascut, farm school, cookery
Walnuts under the tree at Quillisascut Farm

Many of the nuts fall clean from their outer husks, but as you can see in the photo some of them still cling to the thick green outer jacket and need to be liberated before storage.

Walnuts, Leeks, farmlife
Fall Harvest of Persian Walnuts and Leeks at Quillisascut Farm

The first step was getting them picked up, second was cracking them, which has been an on going theme for the last two months.

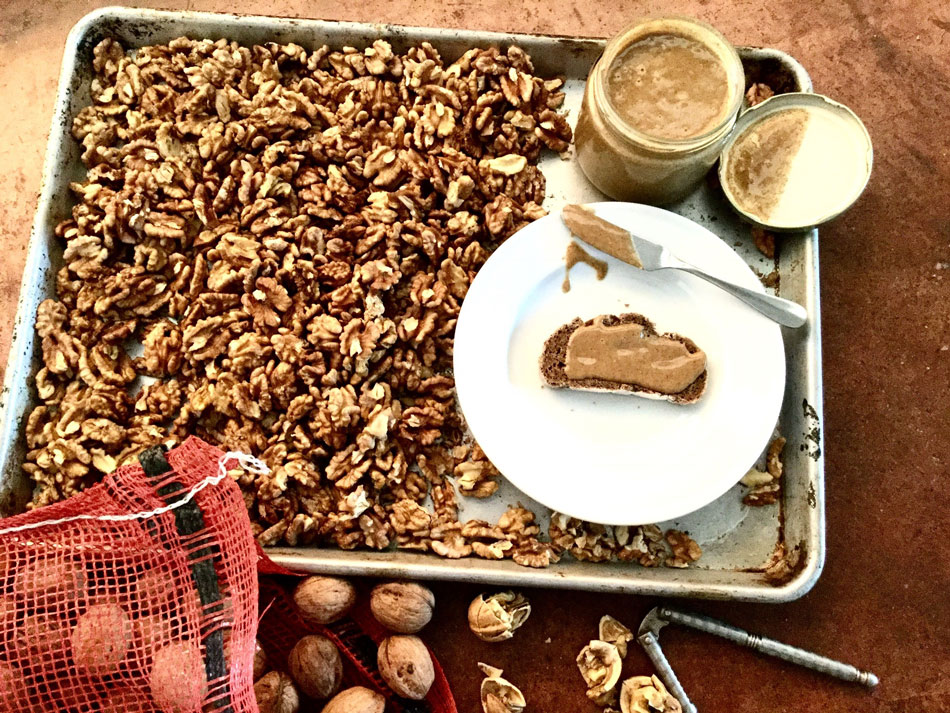
We used our Dave Built Nutcracker to get the shells open and picked through saving all the meats. It took about an hour for one person to liberate a pound of nutmeats. Having friends to share in the process lightened the task with lots of stories, conversation and laughter.

As of yesterday all of the main crop has been cracked giving us close to 100 pounds of walnuts out of their shells to cook with and share with the Quillisascut community!

All along we have been eating them, raw, toasted, with cheese and experimenting with recipes. One of the easiest to make was walnut butter. Here is how I did it.

Walnut Butter
Fresh ground Walnut Butter at Quillisascut Farm

Walnut Butter Recipe:

Walnuts
Salt

Toast walnut meats in the oven at 300 degrees Fahrenheit, until they take on a slight golden toasty color. Keep an eye on them so they don’t burn. Let cool slightly. While still warm place in blender or food processor (the Vita-mix™ worked like a champion for this making a creamy silken butter, the food processor took a little longer and the resulting butter was a little grainier, but equally as delicious). Add salt blend and it’s ready to eat! I keep mine stored in a jar in the refrigerator to protect the fresh flavor. Iv’e used it as you would any nut butter on bread, and have also stirred it in salad dressing which is especially wonderful on a green salad with ripe pears! (We are enjoying organic Anjou and Bosc Pears from Cliffside Orchard)

Grateful harvest at Quillisascut Farm
Thank you, soil, earth worms, microbes, water, compost and walnut trees!

Green Sour Plum Pickles

What to do with an embarrassment of Shiro plums? Some of you may have been here in the summertime when we experienced an abundance of Shiro plums and witnessed Chef Kären mutter something about “An embarrassment of Plums”. Here at Quillisascut we have been pondering this question for several years. One of our summertime quests!

Shiro Plums when ripe are a sweet, cheery sunny yellow. We have made plum jam, spicy plum sauce, and Japanese style umeboshi plums. Sometimes we have them on the table at every meal asking every one to have their daily ration of sweet yellow fruit.

Rick has taken to thinning some of the fruit from the tree so the remaining plums will get larger. Offering us an embarrassment of little under ripe green plums. The goats do like them fresh out of hand.

Then I remembered reading about mock olives made from plums and thought I would do a little research and see if I could find a recipe or two.

In my search I found they are a favored snack in the Middle East. They eat them out of hand, fresh and crunchy with a dash of salt. They are refreshing on a hot summer day.

I came across a pickle recipe that claimed “these taste just like green olives”. Hot vinegar is poured over the plums, add a few spices and let them set. The second day you drain off the vinegar brine, reheat it to boiling, let it cool a little then pour back over the plums. So far they don’t taste like olives to me, but maybe in a month they will?

Some of the Middle Eastern recipes called for covering the plums with a salt water brine. I decided to try a lacto-fermented version that are still fermenting so I don’t have the taste results, but as you can see in the picture, they look beautiful. And they will offer up wonderful probiotic benefits.

You can bet they will show up with our cheese samplers when guests arrive this summer!

Harvesting Between the Rows

I am working on making peace with weeds, especially the edible ones. All of the weeds have an important job. Probably the most important is clothing the soil (soil doesn’t like to be naked)! Weeds move in to disturbed areas, like our open gardens, and set up camp.

This spring I have been playing with ways to cook and dress up pig weed (wild amaranth). It is a super easy plant to grow, it comes up everywhere without encouragement. It also pulls out of the ground without too much tugging, especially when it is young and the soil is loose, and in my garden there is an abundance of these plants!

Pigweed has so many great characteristics. It draws nutrients up from down deep in the soil, bringing nutrition to the plants that come up next. It shades the soil and helps keep it moist. It doesn’t seem to have pests, the leaf miners leave it alone, no worms on the leaves, no aphids, the deer don’t even seem to eat it.

Most important it is delicious. It tastes similar to spinach. I like it cooked better then raw, although the tiny seedlings can be used as micro greens!

The stems are my favorite part, especially when they get longer and fatter, but before they get tough. Pan-fried in a little olive oil and seasoned with salt, they were reminiscent of asparagus. Chopped stems can be steamed like green beans. But the bulk of the greens are wonderful quickly stir fried until bright green and tender, they taste fresh and retain a little crunchy texture, or braised until they soften into a creamy mouth full of joy.

Simply top with butter or olive oil, maybe a splash of vinegar. Serve them with a bit of sesame oil and soy sauce, or as I did last night, pour on a glaze of walnut oil and top with toasted walnuts.

You can dress it up with bacon or any pork product to add a layer of flavor. Our friend Roong said it is a familiar green from his home in Thailand, he braised some for us with a bit of bacon and onions. And when Gary Nabhan was here he cooked up the greens with some spices and used them to fill empanadas for dinner.

Yep, these weeds are turning in to one of my favorite garden foods, free, abundant, and delicious!

Sour Cherry Clafoutis

We are always trying to adapt recipes to feature what we grow here at Quillisascut Farm. This recipe uses the walnut flour that is left from pressing the ground walnuts for oil and the Calais corn that is growing in the garden. A special treat is the Noyaux made from lightly toasted apricot kernels (the nut inside the apricot pit) steeped in brandy. And of course, the sour cherries that are ripening on the tree!

Featuring Quillisascut Farms Walnut flour, Calais Corn Flour, Noyaux

Sour Cherry Cornmeal Clafoutis
Preheat oven to 350°

1/2 c. Walnut flour
1/4 c. Cornmeal
2/3 c. Sugar
1 tsp. Salt
3 Eggs
1 1/4 c. Whole Milk
1 Tbsp. Noyaux or 1 tsp. Almond Extract
1 1/2 cups of cherries Sour Cherries, pitted

Butter for the pan

In a medium bowl, whisk together the walnut flour, cornmeal, sugar, and salt. In a second bowl, whisk the eggs until foamy. Beat in the milk and Noyaux (or almond extract). Slowly whisk the egg mixture into the dry ingredients, stirring until the mixture is lump-free.Let the batter rest for 5 minutes then whisk before pouring in the pan.

Put the cherries in the pie pan and pour in the batter. Bake for 45 minutes or until the pie is set. Allow to cool before cutting.

American Chop Suey Casserole

AmericanChopSuey3I have been working with my sister, Janae, and my nieces, Leah and Mikelle on a cookbook of family favorite recipes. The flavors and textures bring back happy memories of meals shared around our old kitchen table.

Last night I made this American Chop Suey Casserole. Janae gave me a couple quarts of her home canned tomatoes, essential to get the flavor that sets off this dish and Rick had to drive to Kettle Falls to pick up a block of Tillamook  Cheddar (shhhh)
AmericanChopSuey2
Here is the recipe, let me know what you think.

American Chop Suey Casserole (not what you think, and isn’t chop suey an american dish?)

1 quart canned tomatoes
1 pound hamburger
1 large onion
1 cup cheddar cheese in cubes
3 cups of pre cooked rice
3 cup of pre cooked macaroni
salt and pepper
2 tablespoons butter (to dot the bread crumbs)
enough bread crumbs to cover
In the cast iron dying pan saute onions until soft brown add hamburger a cook until done season with salt and pepper.

In a large casserole combine cooked onion, hamburger, tomatoes, rice, macaroni and cubed cheese. Sir until combined top with bread crumbs and dots of butter
bake at 350 for 1hour or until bubbly and bread crumbs are browned.