How We Make Walnut Oil at Quillisascut Farm

A photo tutorial on a simple way to make walnut oil at home or on the farm!

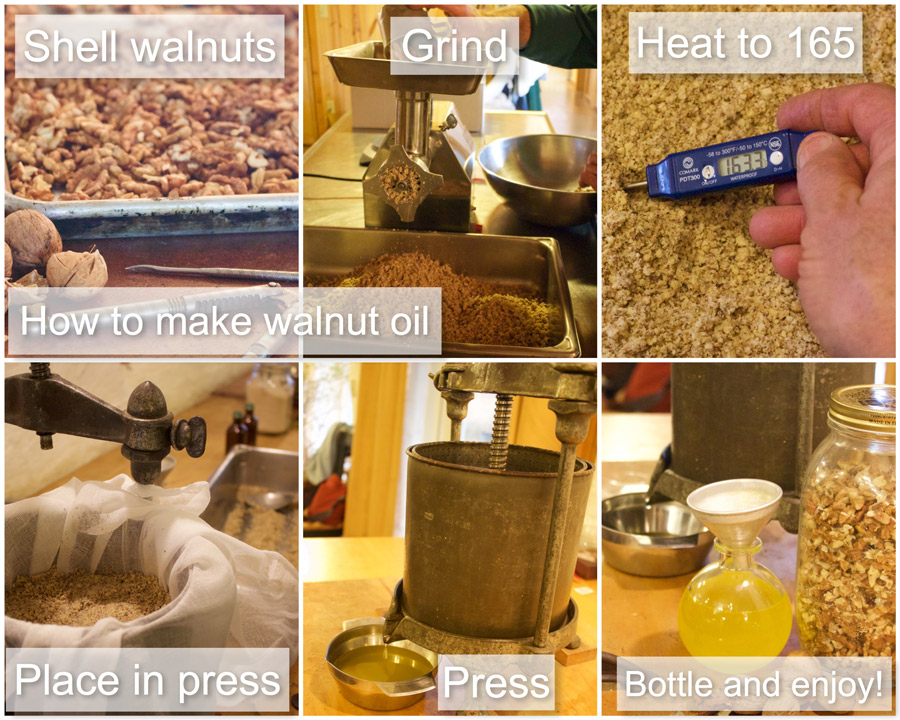
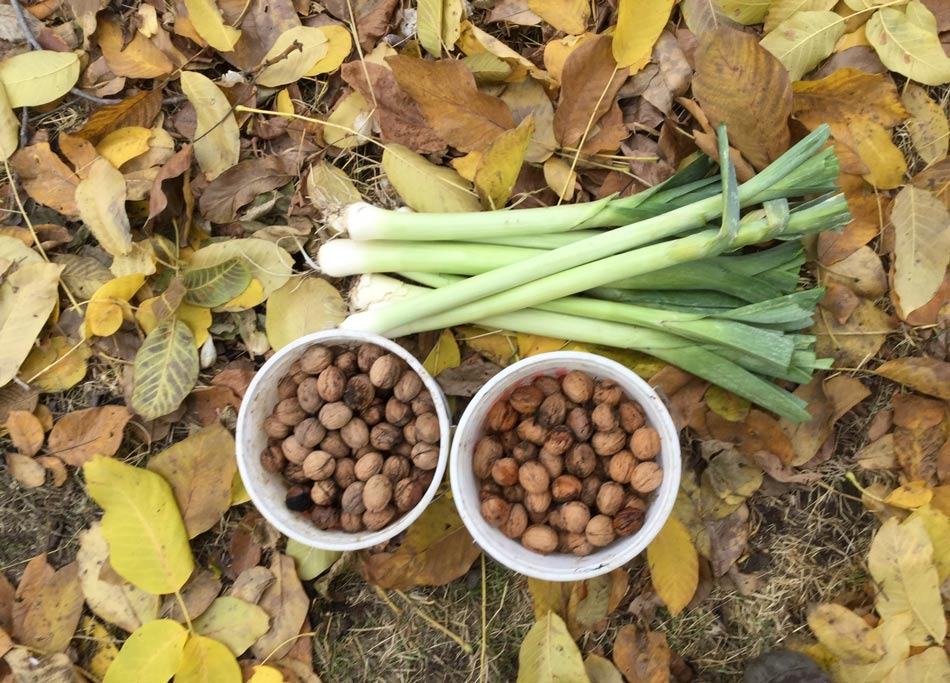
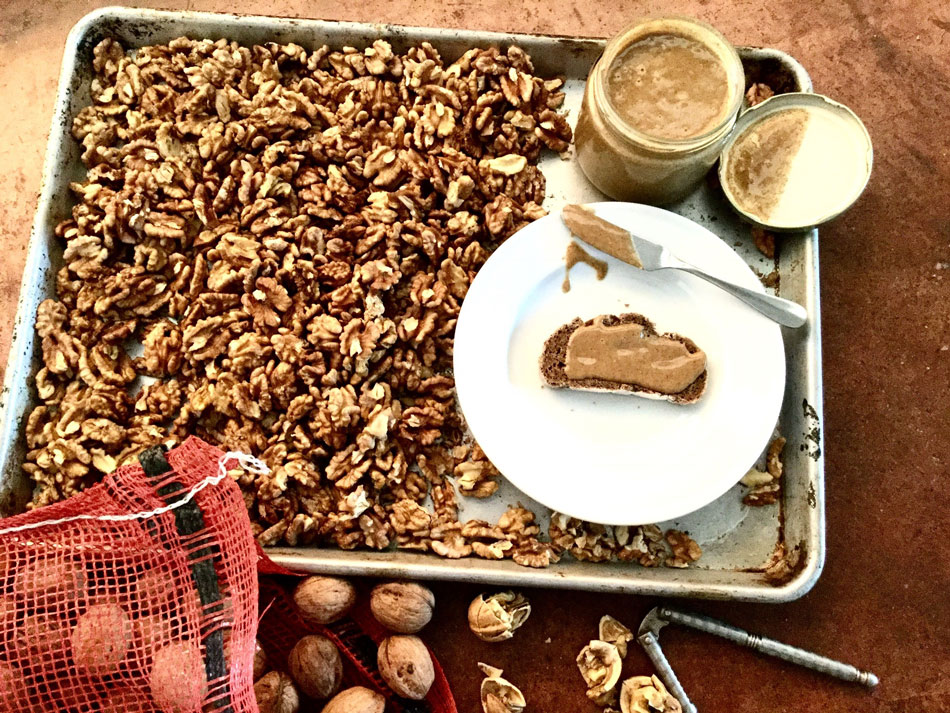
All you need is a little time and a few pounds of shelled walnuts. Shelling the walnuts is the most time consuming part of the process, but can be fun if you get a group of friends or family to pitch in and help. Make sure to get all the shells and center pith out of the walnuts. Next, finely grind the walnuts, we use our electric meat grinder. The heating step takes some time as you don’t want the nuts to toast, so use a slow oven 200-250*F stir them periodically as they all come to 165*F, while the walnuts are warm place them in a press.

Rick purchased this small antique lard press from a local second hand store. We line it with cheesecloth (it helps when it is time to remove the spent walnut cake) then pack in the warm nuts, this press holds about 6 pounds of of ground walnuts, giving us between 16-20 ounces of oil.

The walnut cake left over can be broken up and used for flour in baking and the lovely oil can be drizzled on salads, in soup or ? What we do know is that you will learn a new appreciation for walnut oil and never want to waste a drop!

Walnuts Forever

This fall we have been obsessed with walnuts. Our trees were very productive. Rick and I and several groups of friends picked up more then 300 pounds of walnuts. Thank you walnut trees and a big GRATEFUL to everyone who shared in the joy of the harvest.

walnuts, quillisascut, farm school, cookery
Walnuts under the tree at Quillisascut Farm

Many of the nuts fall clean from their outer husks, but as you can see in the photo some of them still cling to the thick green outer jacket and need to be liberated before storage.

Walnuts, Leeks, farmlife
Fall Harvest of Persian Walnuts and Leeks at Quillisascut Farm

The first step was getting them picked up, second was cracking them, which has been an on going theme for the last two months.

We used our Dave Built Nutcracker to get the shells open and picked through saving all the meats. It took about an hour for one person to liberate a pound of nutmeats. Having friends to share in the process lightened the task with lots of stories, conversation and laughter.

As of yesterday all of the main crop has been cracked giving us close to 100 pounds of walnuts out of their shells to cook with and share with the Quillisascut community!

All along we have been eating them, raw, toasted, with cheese and experimenting with recipes. One of the easiest to make was walnut butter. Here is how I did it.

Walnut Butter
Fresh ground Walnut Butter at Quillisascut Farm

Walnut Butter Recipe:

Walnuts
Salt

Toast walnut meats in the oven at 300 degrees Fahrenheit, until they take on a slight golden toasty color. Keep an eye on them so they don’t burn. Let cool slightly. While still warm place in blender or food processor (the Vita-mix™ worked like a champion for this making a creamy silken butter, the food processor took a little longer and the resulting butter was a little grainier, but equally as delicious). Add salt blend and it’s ready to eat! I keep mine stored in a jar in the refrigerator to protect the fresh flavor. Iv’e used it as you would any nut butter on bread, and have also stirred it in salad dressing which is especially wonderful on a green salad with ripe pears! (We are enjoying organic Anjou and Bosc Pears from Cliffside Orchard)

Grateful harvest at Quillisascut Farm
Thank you, soil, earth worms, microbes, water, compost and walnut trees!